Famous Internet Gear Guide 2012-2013: Episode I
September.
It is amazing how much my opinion of this month has changed over the course of my life.![]() For the first seventeen years I dreaded September and the inevitable return to my educational incarceration. Now I love September. Especially in VT. The endless stifling heat of summer gives way to warm and pleasant days, offset by refreshingly crisp nights. The bounty of our farms and gardens are being reaped on a daily basis and one really has to try hard to go a single meal without some utterly fresh, local, and amazing piece of produce. But the real treat is the first few leaves that start to change over to their fall hues. That, along with the various ski magazines and their perennial gear guides stuffing my mailbox, these are the starting guns in the run up to Winter; the reason both you and I are on this website right now (that, of course, and Pig Roasting directions).
For the first seventeen years I dreaded September and the inevitable return to my educational incarceration. Now I love September. Especially in VT. The endless stifling heat of summer gives way to warm and pleasant days, offset by refreshingly crisp nights. The bounty of our farms and gardens are being reaped on a daily basis and one really has to try hard to go a single meal without some utterly fresh, local, and amazing piece of produce. But the real treat is the first few leaves that start to change over to their fall hues. That, along with the various ski magazines and their perennial gear guides stuffing my mailbox, these are the starting guns in the run up to Winter; the reason both you and I are on this website right now (that, of course, and Pig Roasting directions).
In anticipation of everyone’s return to snowbrain, I have put together a small gear guide containing a few of my favorite pieces of gear. Some are being introduced for the 2012-13 season, and others are unchanged from their introductions in the past season. I shall introduce my choice cuts of gear-meat as installments. Let’s say two wicked awesome installments. All of these items I got to spend time on last season, but sadly I only have adequate photos of the ski boot days, and nothing with the skis. That’s what happens when you are using gear at on snow demos done for industry trade shows. But on the boots that I was loaned by some generous reps and really got to get up close and personal with during many days of use, there are some worthy shots.
This past March I was able to scrounge up a pair of Tecnica Cochise Pro Lights for six days of skiing. A newcomer to the most recent incarnation of Tecnica’s AT boot line, the Cochise PL sports a single wide gauge cuff buckle and a beefy powerstrap to help generate ski driving power. A relatively snug 100mm last holds the foot securely in place.
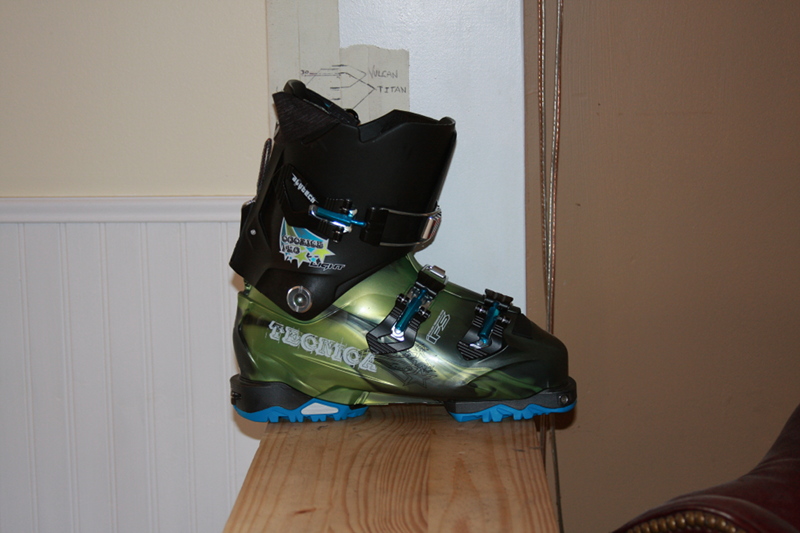
I used these boots (and all the boots I tested) with Intuition liners. I greatly prefer them to most stock liners for fit, heat retention, weight, and their ability to be thermo-fit with a greater precision than any other stock ski boot liner on the market.
The Cochise Pro Light came in at a nice 3.25lbs/boot (1480g) without any liners. By comparison my tried and true Dynafit Titans measure up at 3.5lbs/boot (1600g) without liners. I plugged my Intuition Pro Tour liners (.5lb/liner; 200g) with the Cochise Pro Lights. Great Success!!!
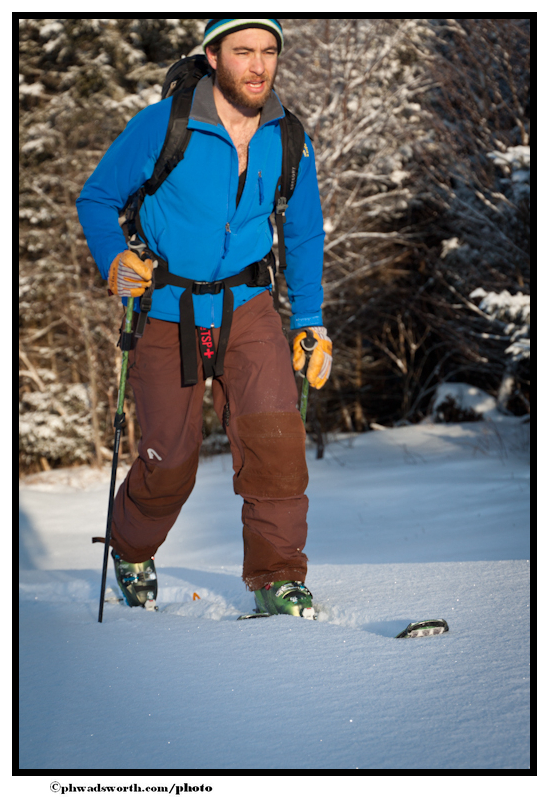
I have done a lot of chemistry research to try and figure out exactly what flex characteristics Tecnica’s proprietary Triax plastic most closely resembles; a traditional alpine-style PU, lighter and more thermoneutral polypropylenes/Pebax, or more of the super light and stiff polyamide/Grilamid. I found the Triax to have the stiffness and natural flexing tendencies of PU, but it seemed to be more consistent across a wide spectrum of temperatures (20s-40s), unlike PU. Regardless of that I found the boot skied effortlessly and inspired a ton of skier (me) confidence.
The Cochise PL is a very light boot that comes from a company that specializes in boots of a heavy, alpine variety. Which means I have come to expect great flex characteristics and and performance from the usual suspects in the Tecnica line, but would a true “touring” boot from them keep their hallmarks? In the end the boot scored many points with me for stiffness-to-weight ratio and for progressive flex. Certainly I have been in stiffer boots, but for whatever reason the flex of this boot, despite noticeably lower cuff, really felt great to ski. It was incredibly easy to use, which counts for a lot in my world. I find there are a growing plethora of boots with all sorts of tabs, wires, hinged tongues, and other doodads. It is refreshing to get a boot that is supremely simple and high performance. The ski/walk mechanism on the Cochise PL is very easy to use and manipulate with a gloved hand. That mechanism also supplies a very rigid spine for the boot with very little play. Another thing that is different than the majority of AT boots on the market.
Downsides for the Cochise PL, in my opinion, center on a walk mode that has somewhat less negative motion when compared with similar boots. If you think of a boot locked in ski mode at a certain angle, the degrees that the boot can freely pivot forward in walk mode can be called the positive motion. The negative would be the degrees from that locked ski mode position back. For such a light, touring oriented offering from the Tecnica line, a little more range of motion would be a big improvement.
The only other conundrum is the super flat AT sole block. It is very much the same as what is on the regular Cochise, and the Cochise Pro 130, but again not totally tailored for the one touring-centered boot in the Tecnica line.
Everything else about the Cochise PL easily made up for it’s limited shortcomings. For a primary touring skier, who spends some time at a resort and wants an AT boot with interchangeable sole blocks, this would be a superb option. There are very few lightweight, touring first, AT boots that are reasonably stiff and offer the ability to put on an alpine sole block. Or god forbid replace the inevitable chewed up rubber and plastic of a well used, rock scrambling boot. For sure the sole changing option is something that makes the Cochise Pro Light much different from it’s main boot competition.
I hope to spend some more time on these boots during the upcoming season.
For a great mountaineering ski I am all about the Dynafit Baltoro. Introduced last season as the only flat deck (non-insert) ski in the Dynafit line, it couples just a touch of tip rocker with pretty low camber. That mixed with a super thin metal reinforcement plate create a very stable and damp ski. So when you hit that yet-to-thaw corn, or just straight blue ice, the ski will hold on for you. A med-stiff flex in the tip that progresses to a pretty stiff tail is just where I want my mountaineering ski to be; as well predictable and able to hold me out of turns with zero tail washout. Dynafit gives this ski a hybrid cap/sandwich construction; durable sidewall construction underfoot with a lighter, torsionally stiff, and easier to initiate cap construction at the tip and tail. Coming in at 84mm underfoot it is in the sweet spot for mountaineering and hard snow/corn performance.
Baltoro Stats
149 113-84-100 16.9m/16m 1190g
158 114-84-101 19m/17.5m 1290g
167 115-84-102 21m/19m 1380g
176 116-84-103 23m/20.5m 1470g
183 119-86-106 24m/21m 1650g
This ski is a bit unique for such a narrow mountaineering ski in that it has a dual turn radius built into the side cut. The tip and tail sections of the ski have a 23m radius, allowing for a bit more predictable ride with less likelihood for an unexpected hook resulting from a deeper initial sidecut. The middle section of the ski is cut for a 20.5m radius, promoting quicker turn response and ability to keep speed in check during steep descents. I got to ski these in the 176cm length (perfect for me) a few times last season. Two of the times were in heinous rainy wet slop. Once at Mad River Glen, and one day skiing slides in the Adirondacks. The ability of this ski to plow through slush was impressive for its size and weight. The Baltoro felt strong, solid, and very predictable under my boots. Not a quality I can say I find in many other lightweight bc/mountaineering specific skis.
One other quality of the Baltoro, and this is more props to the Dynafit marketing team, is the non-gender specific nature of the ski. There are lengths that are appropriate for most men and women (for a mountaineering ski) and it is just a ski. What Dynafit is saying is, “here is a ski. If you think it is right for you, buy it.” No need to fuss with graphics that have been focus grouped to appeal to males or females, no model names that have also gone through the same marketing vetting process. As someone who works with a lot of ski products, and a lot of ski consumers, this is a refreshing change that seems to be listening to the overwhelming feedback from the skiing community.
I am a big fan of the Dynafit Baltoro. It will definitely find a way into my quiver for this winter.
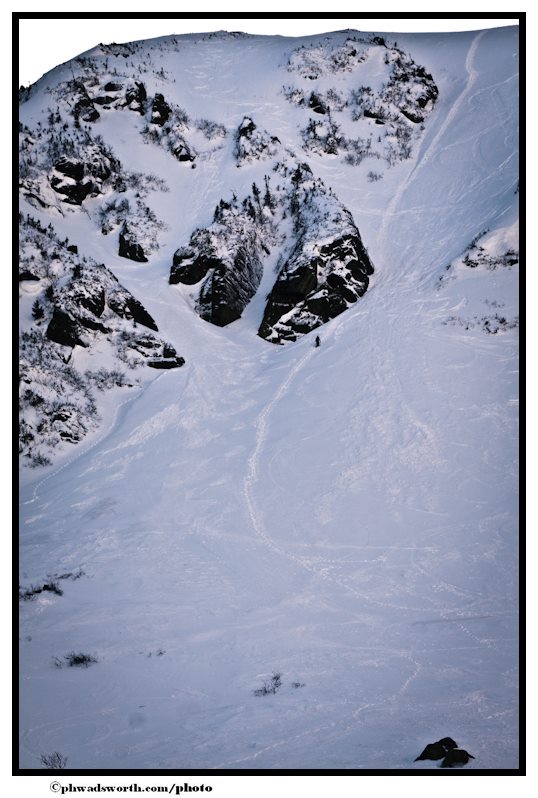
Stay Tuned For Episode II. In the meantime: Feast on Pow leftovers!
Virgin Sacrifies in the name of Snow (aka how to roast a pig)
As you know we here at FIS love toe celebrate events on the calendar. Shane day (check). Leap Day (check). Martha Washington’s Birthday (check). So in honor of the summer solstice which we refer to as “the turn” the FIS crew decided to sacrifice a virgin and feast. No, not a human virgin (sicko). A pig virgin. Well at least I think it was a virgin. I’m not really an expert in animal husbandry and when swine become sexually active. (Though with cell phones and the internet who knows what kids are doing these days). And after thinking about this for some time, it really didn’t seem like Ullr would object swapping porky in for Lolo Jones. So with that in mind, Jake and I decided rock it out.
I. The Set Up
So you wanna roast a whole pig. Great. Now what. In the immortal words of my father, “well A.J. you know you’ll need a pig right?” So that’s pretty much item 1 on the list. Get thee a pig. And don’t get no store bought, flavor injected, raised on chemically enhanced high protein gruel, pig either. You’re going to be taking the whole animal down. Make it a good one. Honor thine swine. I searched long and hard and found Sugar Mountain Farm. For a reasonable price I was able to procure a 86lb “roaster” that bascially had a better life than me.
Second you’ll need to figure out a way to cook the damn thing. There are tons of articles on the interwebs about “roasting a whole pig.” Before we launch into this let me first tell you that you aren’t Bar-b-queing this pig. You are roasting it. The difference is both in technique and flavor with the biggest difference being you aren’t smoking the animal. So instead of having a heat source away from the meat and allowing smoke to cook it, you want to create an “oven” that has heat sources and maintains a consistent temperature of about 250 degrees.
There are several ways to do this. There are two traditonal methods. First is the the “luau” method where you dig a pit, build a big fire in the pit with river stones in the fire. Let the fire go to coals. Cover the stones and coals with wet burlap or something similar, put the pig in, cover it with more wet burlap and dirt and let the thing cook in there for 12 hours. I’ve done this and can explain it this way: you are steaming your pig in it’s own fat. (go ahead, wipe the drool up. I’ll wait.). But the skin doesn’t get crispy so it leaves something to be desired. The other traditional method involves building a roasting oven. Hispanola does this well. The cubans use “la caja china“. Bascially that’s a wood sided metal lined box with coals under and above the hog. We considered this but decided it was too steep a price to pay. Instead we went with building the oven out of cinderblocks.
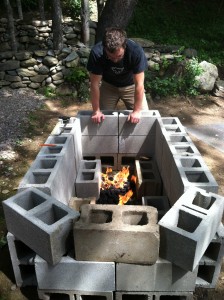
Take note that the bottom line of cinderblocks was laid flat and the ends were laid so the open middle of the cinderblocks was set up to allow airflow.
You’re also going to need to build a rack for the pig and a lid for the oven. We found metal mesh grating at Home Depot and tied that down with bailing wire to some rebar. Here’s the thing. You MUST make sure none of this metal is galvanized. Galvanized metal gives off toxic fumes when heated. That’s bad.
To “clean” the grate and temper the bottom of the oven we built a fire.
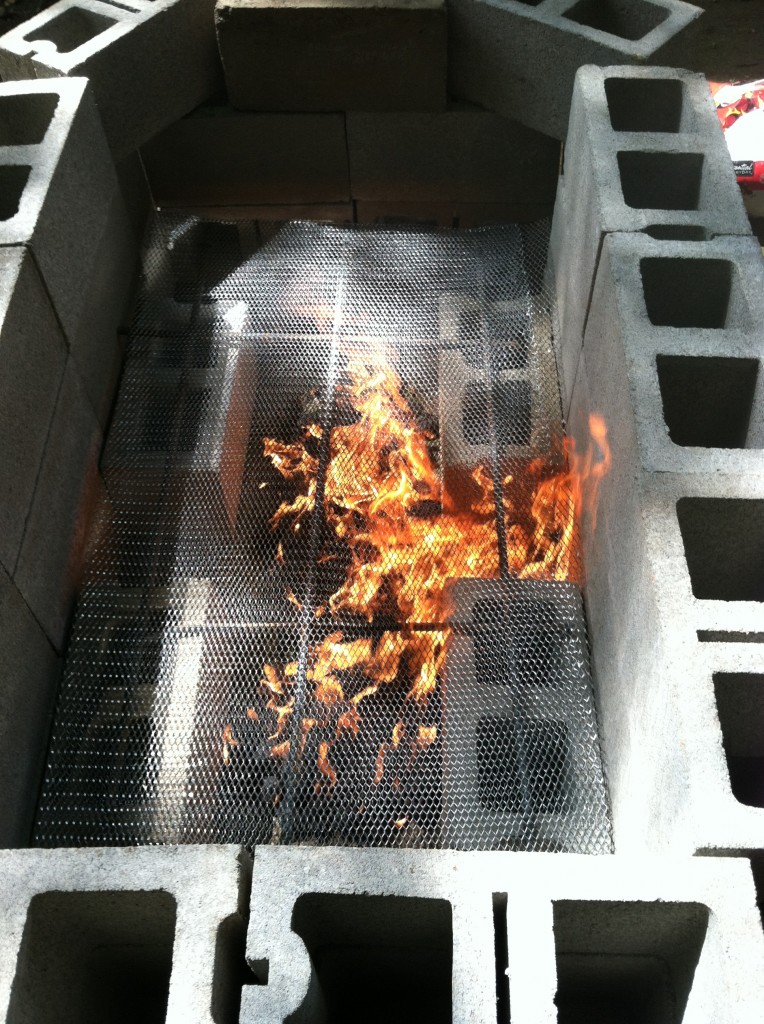
Next you need a lid. Apparently California doesn’t approve of our choice of plywood.
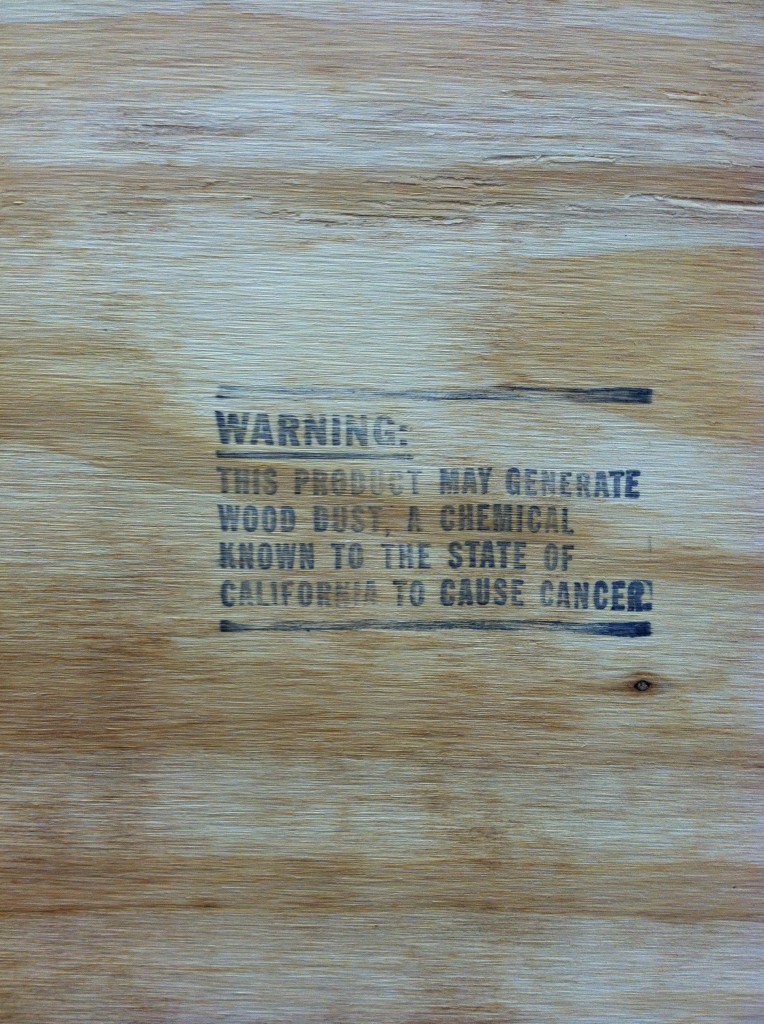
So we covered it in heavy duty foil to reflect the heat back into the oven. By george it works!
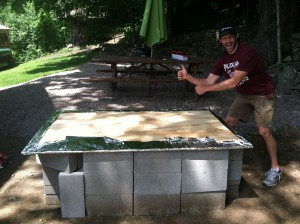
II. The PIG.
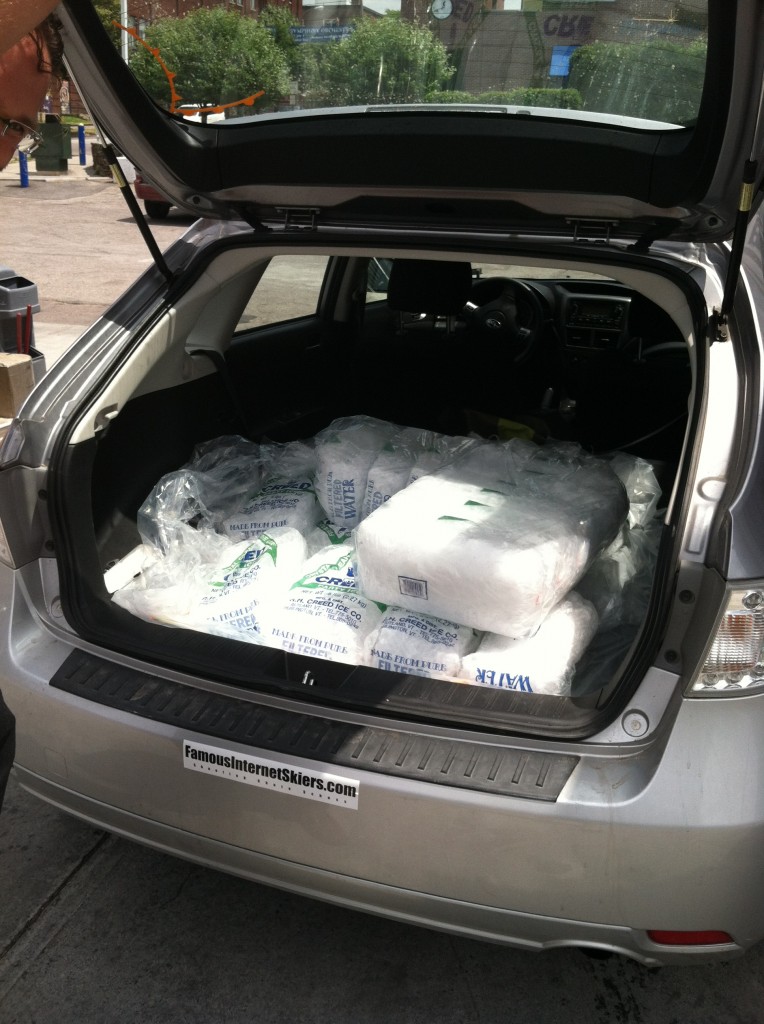
You are about to cook a huge piece of meat. Way larger than your fridge, your oven and heck maybe your car. There are logistal type things to answer like where are you picking it up, and how are you storing it before you cook it. We got lucky. Our purveyor was able to deliver us a dressed and “split” or “butterflied” pig the day before the event. All we had to do was meet at a local drop off spot and keep the hog on ice (under 40 degrees is a MUST) for 12 hours.
For us, that amounted to a lot of ice
and a 12 hour layover in my second bathroom:
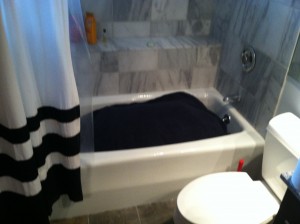
Before he went on ice, he was marinated with a mix of olive oil, garlic, orange juice, lime juice, cilantro, habanero peppers (use gloves), salt, black peper, cumin and a few other tricks of the trade. The pig was in a bag so I just poured about a gallon of marinade into the bag and rolled it around and let it sit overnight. Then I had a beer.
Now Go to Page 2 to see the payoff
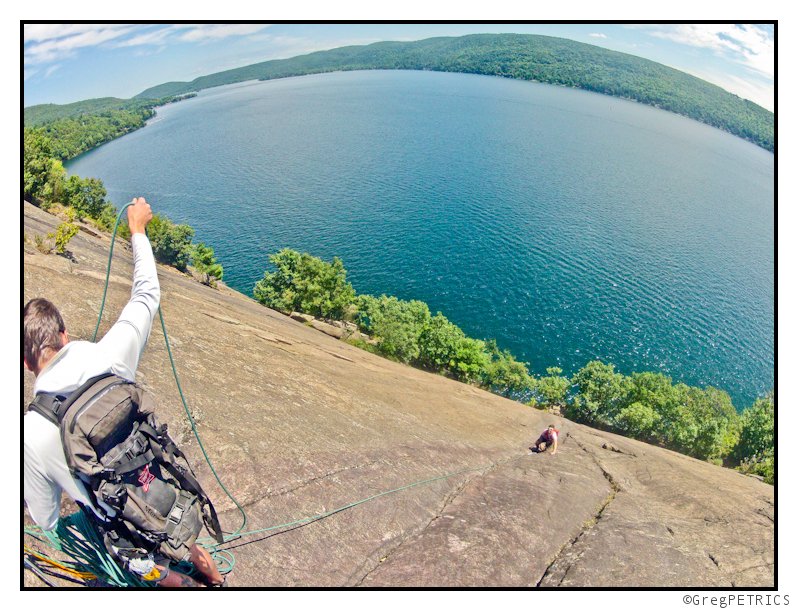
SPA Trip #16: Row Jer’! It’s Row-Climbing Time!
What could the title of this SPA Trip possibly mean?! Click the picture below to read the Full TR and find out!
SPA Trip #15: Family Friendly 5.Fun
Known more for Tough Schist than Family Friendly 5.Funs, Vermont poses a challenge for “mortal climbers” looking to get out and explore. Needless to say, when we heard a few whispers of a multi-pitch, sport, 5.fun ascending some of the best rock in Vermont, we had to go sniff it out. Working off our knowledge of the area from our trip to Valhalla, we started bushwhacking in what seemed like the right direction. Nearly two hours later we got a view of the crag. Is it really still that far away? Sigh…

The humidity was viscous, the bugs were blood-sucking, the trail was non-existant, and the scree-field leading up to the crag was awful. We did however find a nice hut to cool down in for a minute. Thank goodness!

Finally the climbing started! I lead the first pitch to a belay station with a view… and a hatch of bugs! Hooray! Christian follows.
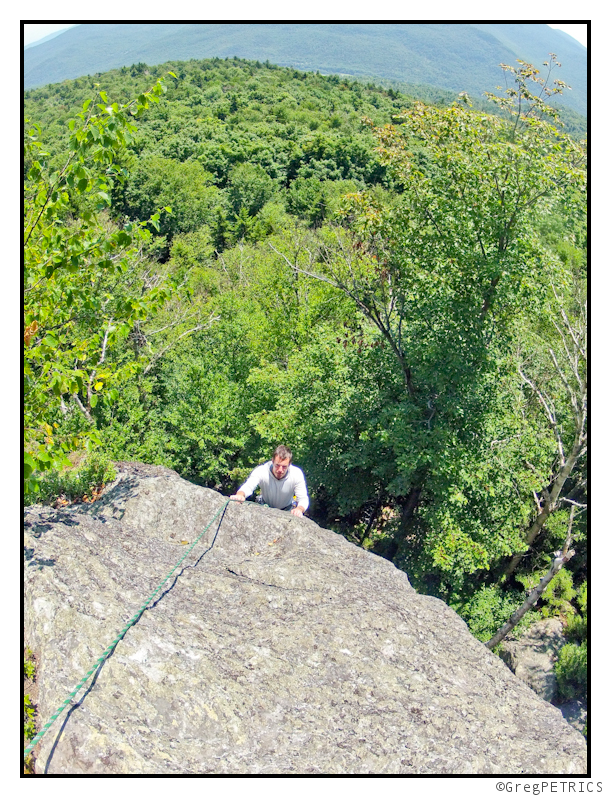
From there we swapped roles, and Christian took over leading duties on pitch 2.
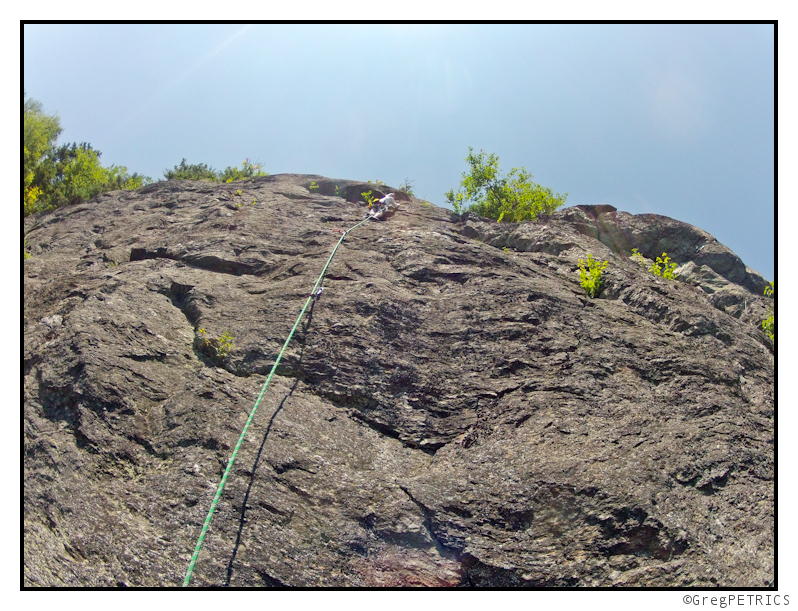
Don’t worry, he’s locked off.
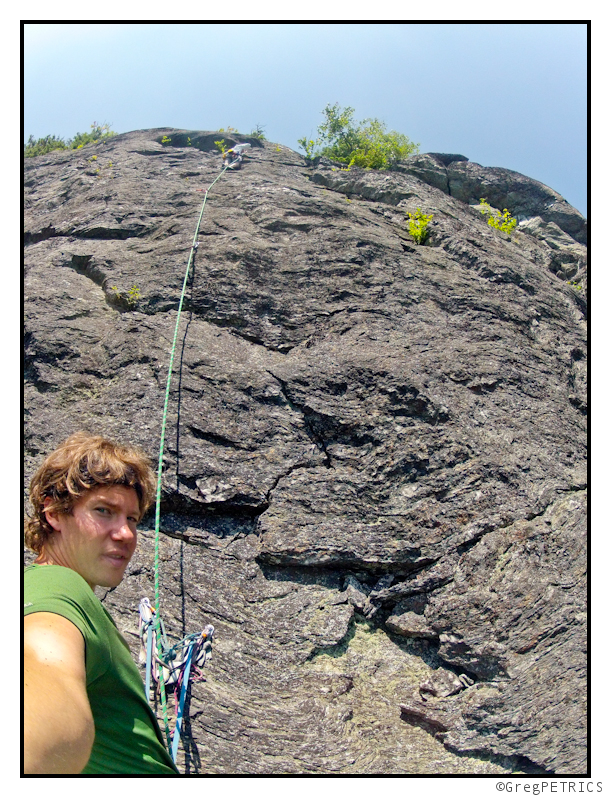
At the top of the second pitch we were tired, hot, sweaty and bug-bitten. But the climbing was GREAT! That’s what I call a family-friendly-five-fun.
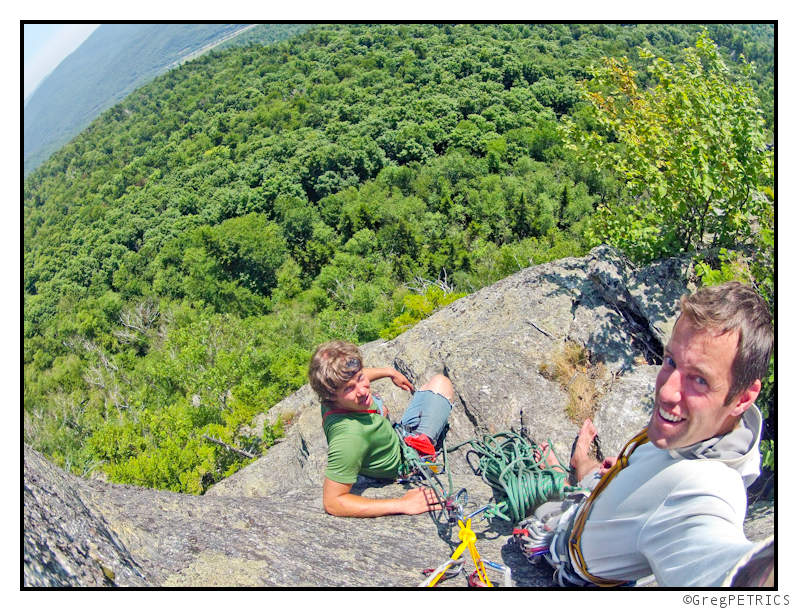
“Are we having five-fun yet?”
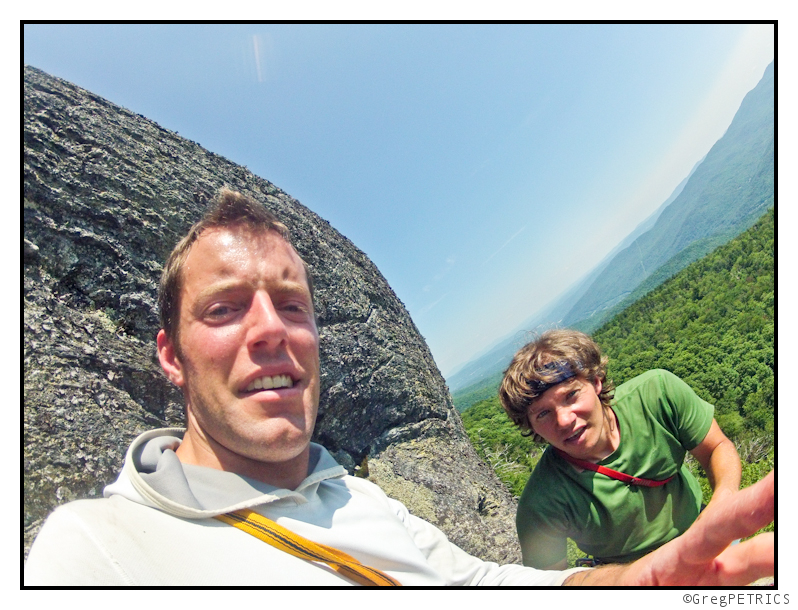
We rapped to the base, and as soon as we touched down, began the lovely task of re-bushwacking several hours to the car. The requisite dip in the river once we returned to civilization has never felt so nice!
Thanks for checking in on FIS in the summer! Go out and start your own adventure today!
Western Fires
![]()
It’s no secret that the Rocky Mountain region of the American West is having one of the worst fire seasons in recent memory. As of July 4th, 2012 there has already been 2.3 million acres burned.1 The 10 year average for burned land per fire season across the West is 2.5 million acres. We’re nearly to this average and we’re only about a third of the way through fire season.
Last year, on July 4th, 2011 Snowbird Ski Area was still open and the mountains of Utah still contained a 100 inch base of snow to melt. This year, the mountains have been melted out since mid-June, with little to no melt water to help the water supply.
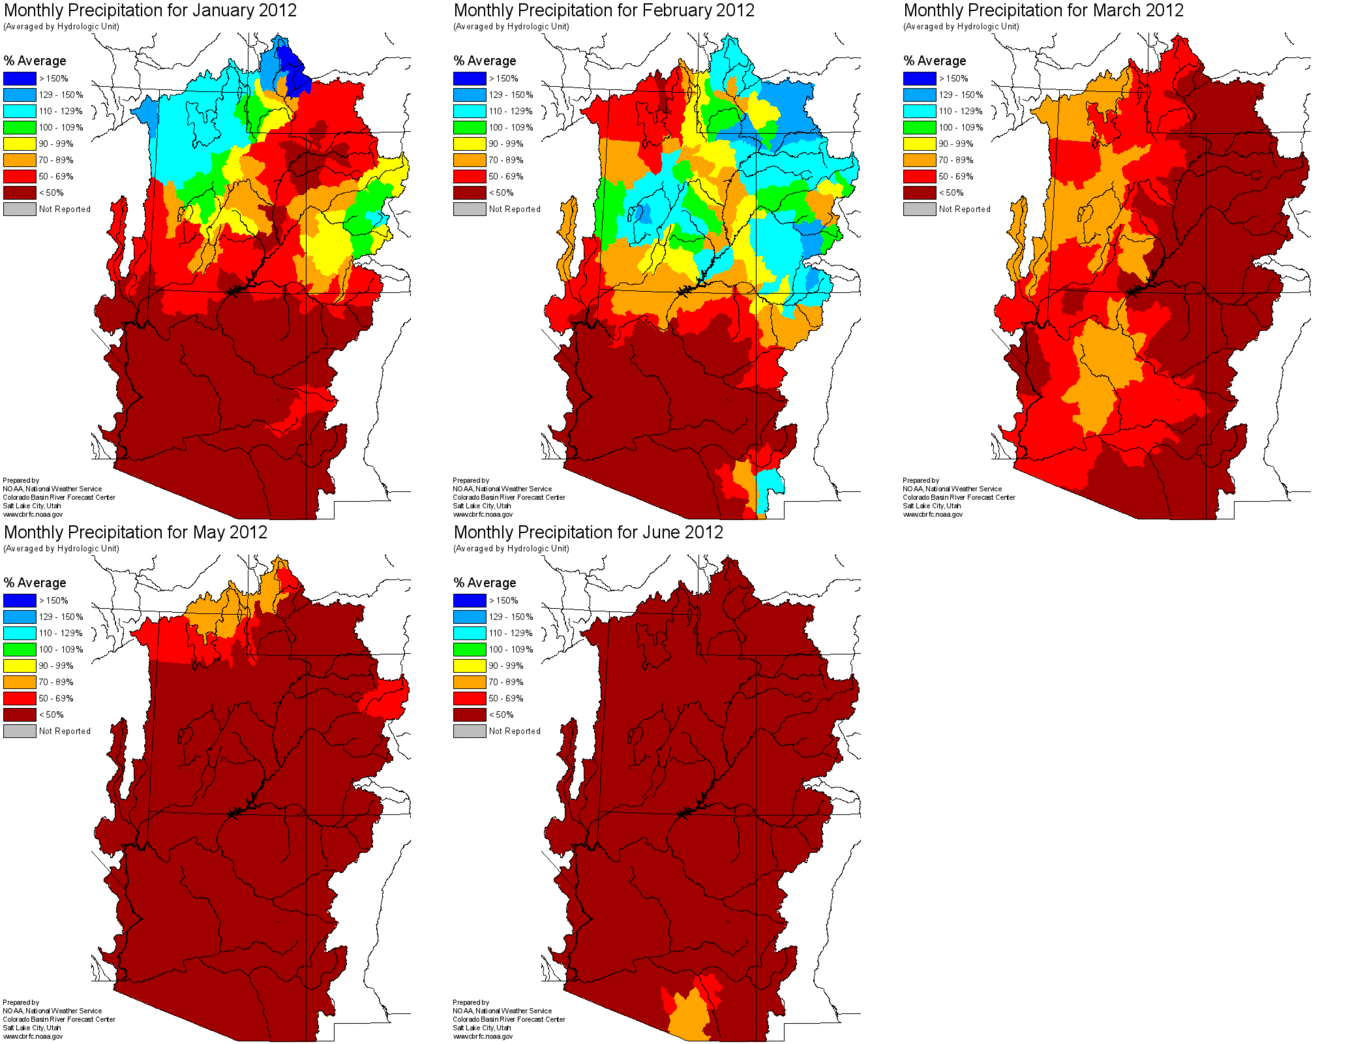
The primary cause for this soon to be record fire season is a lack of precipitation. In the map below, you can see monthly precipitation as a percent of normal from January through June. 2
As you can see in the animation precipitation to the Great Basin since January has been trailing off. It’s been incredibly dry for the past 45 days. The last precipitable water Salt Lake City recorded was May 28th. June is the driest on record. Ever. Not a single drop of rain. It has finally rained on July 5th, but 38 consecutive days without water ranks as the 11th longest period without mesurable water at the SLC Airport. 3
Over the past month, Utah has had dozen of fires. You can see in this false color map, all of the areas dotted with brown that have been burned.4 For reference the large lake in the upper left hand corner is the Great Salt Lake.
The moral of the story, is it’s been really damn dry, and there have been a lot of wildfire outbreaks. Crews have been fighting fires with anything they can get their hands on, small planes, tankers, helicopters, fire trucks, on foot – you name it, they’re trying it.
Tuesday evening, the 3rd of July, the Quail Fire broke out North East of the town of Alpine, UT. The fire was on the flanks of Box Elder peak, between the Timpanogos Massif and the mountains of Little Cottonwood Canyon. As of this post, the fire is 2,000 acres and is close to Alpine, and has thankfully yet to burn any houses down. 5
I went down to check out the fire on Tuesday towards sunset, and really was blown away. It was beautiful, breath taking and sad all at the same time. It’s a sight that’s had to explain, but one that is not unlike watching a large waves crash in during an Eastern storm. I sat for hours, mesmerized by the force of nature, and how quickly the fire could spread.
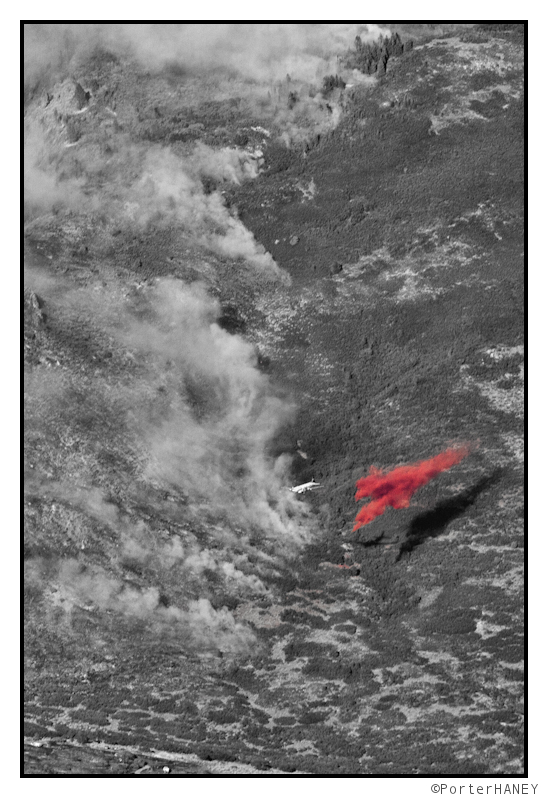
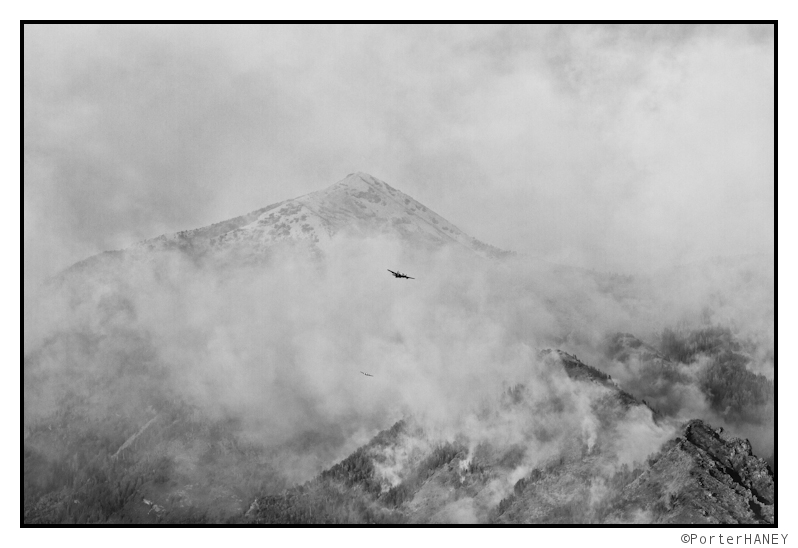
There were a handful of planes taking laps over the boundaries of the fires, dropping fire suppressant in the hopes that they could contain the fire and protect the town at the bottom of the mountain.
In the first picture, a plane has flown to the ridge of the mountain, and started flying down the fire line, dropping red fire suppressant as he flies.
(click the image for a high resolution copy)
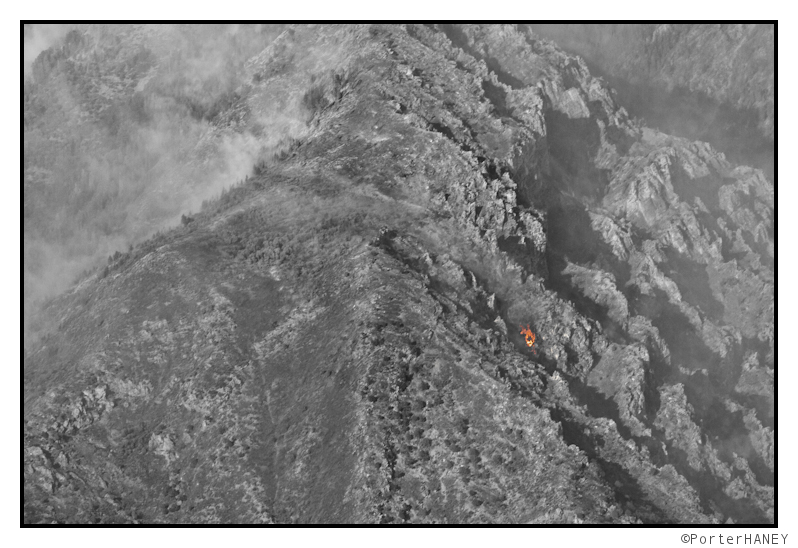
In the second image, large swaths of land were already burnt and had turned brown. Within these swaths of land there were still flames coming up in pockets, here one of those pockets ignites and starts burning brightly.
(click the image for a high resolution copy)
And the final image is of two tankers flying out of the smoke and flames. The pilots and fire fighters are truly the ones with everything on the line to protect the rest of us. It’s these people we have to thank for protecting westerners from the flames we’ve helped create.
(click the image for a high resolution copy)
Thanks for reading. I’ll be glad to answer any questions in the comments section below.
Sources
1. National Interagency Fire Center
2. Colorado Basin River Forecast Center
3. NWS SLC
4. USDA Forest Service Georeferenced MODIS Image Subsets
5. Incident Information System

